On this occasion, we will talk about bar chords: such a useful yet frustrating technique to master. Let’s look at it this way: by now, you might have mastered the open chords. You might even explore the fretboard playing single strings. You’ve gotten used to transpose songs so that you only have to use open chords, which is possible in most (if not all) pop and rock songs. But now… you want more. You want to sound like the original versions of the songs you like. But… the song you want to play has an F#. Maybe a B as well. Don’t worry! In this article, you will learn how to play bar chords!
A bar happens when your index finger covers the whole fretboard behind a specific fret, pressing down all the strings. Its utility to create chords is huge because you can still do lots of things with your three remaining fingers. Learning how to bar properly will give you a boost in versatility and playability. This is why it’s highly advisable to master it early on. After you do, you will be able to play rhythm guitar for any song you want, and even make some cool arrangements!
Let’s talk about the index finger
The first thing we need to bear in mind when we start to practice bar chords is our index finger. As a first exercise, extend the index finger of your fretting hand as if you were pointing at something. Try to make it as straight as possible without applying too much strength. Is the underside of your finger flat? If it isn’t, don’t worry. Most people will not have perfectly flat index fingers. It’s normal if your finger has a small curvature upwards. This can be uncomfortable if your guitar has a high action, though. Bar chords (and fretting strings in general) become harder the higher the strings are suspended from the fretboard. Make sure you get the action of your guitar adjusted to a comfortable level in the guitar store of your preference.
How do I play bar chords properly?
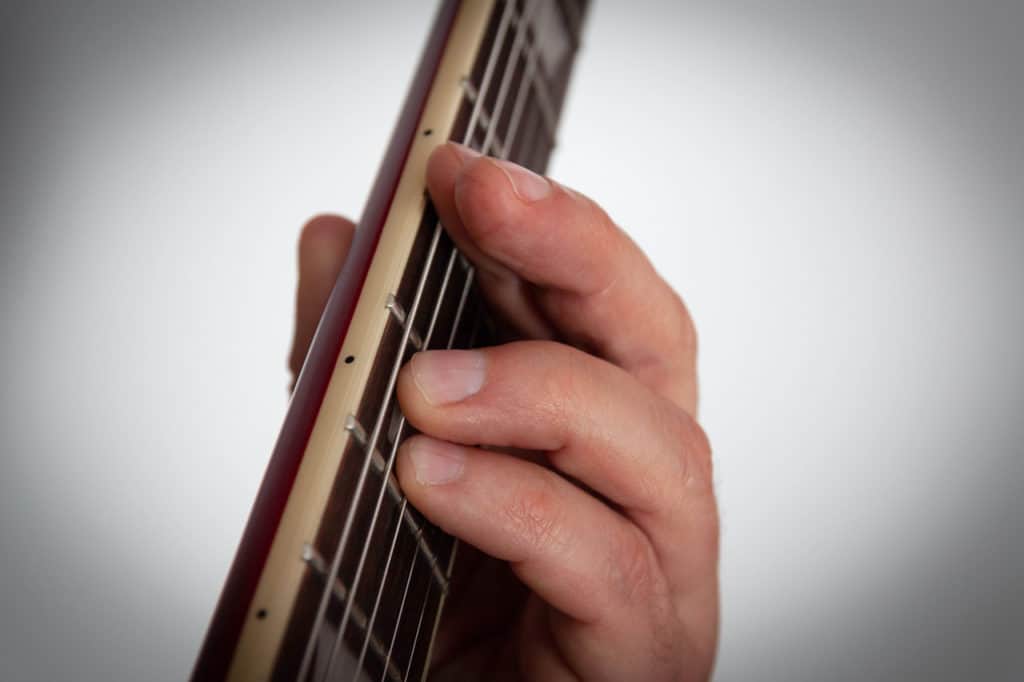
Alright, now we can talk about technique. The second thing we need to consider when starting to practice bar chords is how a bar looks when executed correctly. Your index finger must be placed straight, with your fingernail facing away from the fretboard completely and right before the fret, because if you put it on top of the fret, you’ll mute the strings.
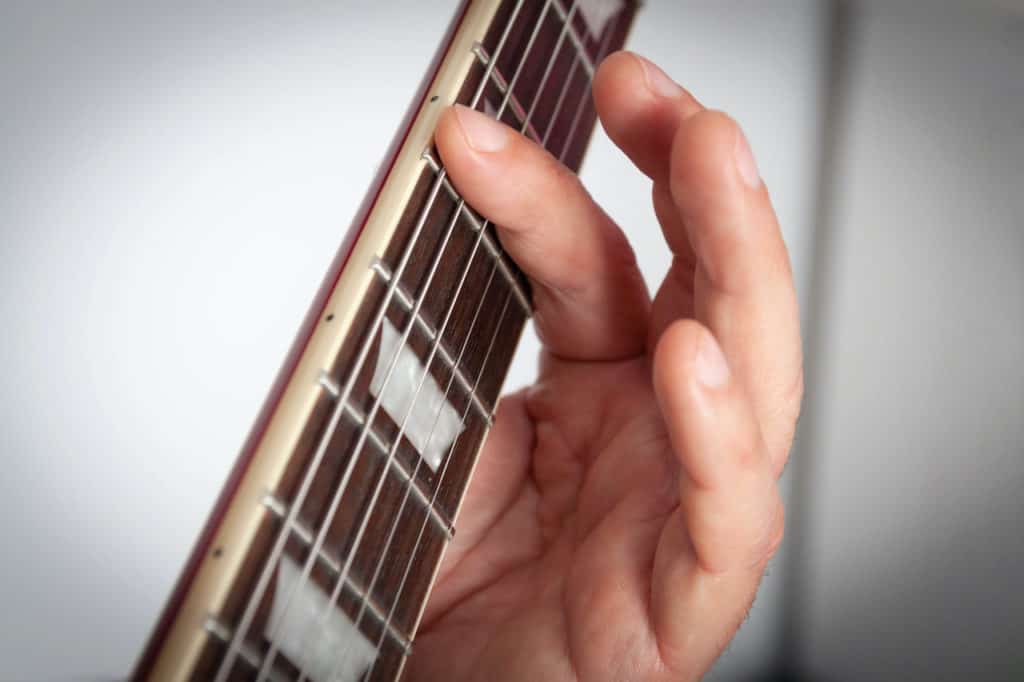
This way, you will be able to play all the strings without hearing muted or warped strings.
Another thing to look out for is how straight your finger is and applying uniform strength to all the strings, without being excessive. Most of the occasions when a bar chord doesn’t sound quite right is because either there’s too much strength being applied to the finger, causing it to bend upward and not cover the bass strings correctly. Or because the finger adopts a curved, C-like shape to compensate the strength needed to cover the entire fret.
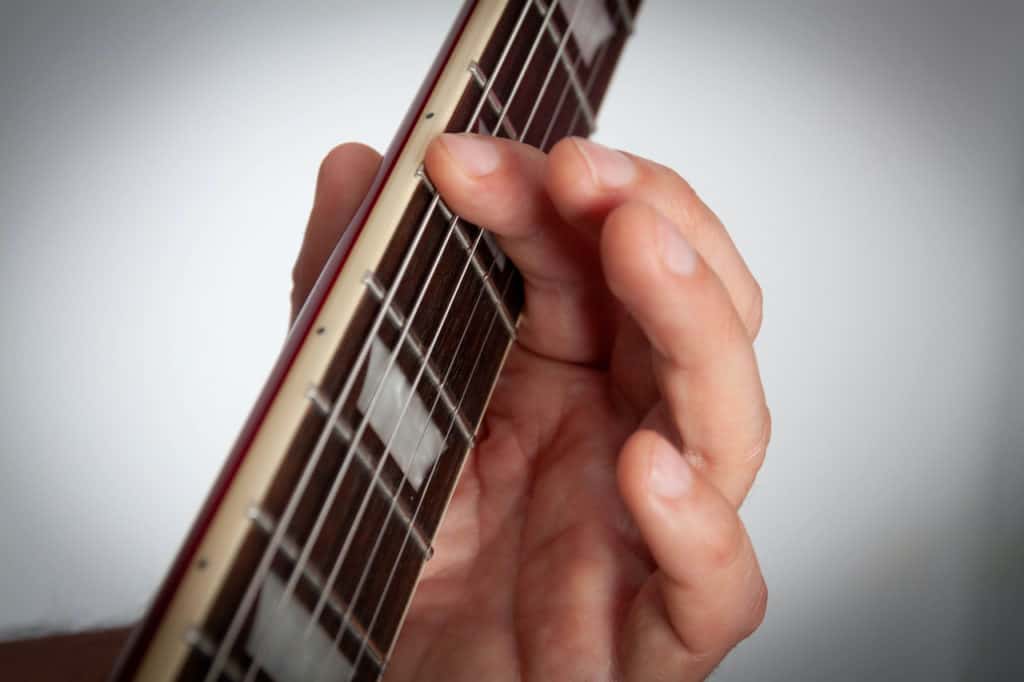
The thumb placement is also vital. Remember that, even when it is still a mobile element, the thumb of your fretting hand must support the strength used by resting behind the fretboard. When playing a bar chord, the thumb must be directly under the fret that is being pressed down. Or a fret after that if you’re near the bridge. For example, if you’re making a bar in the 10th fret, your thumb must rest under the 11th fret. This will help by making a “clamp” that will hold your index finger in place, putting less tension in your hand overall.
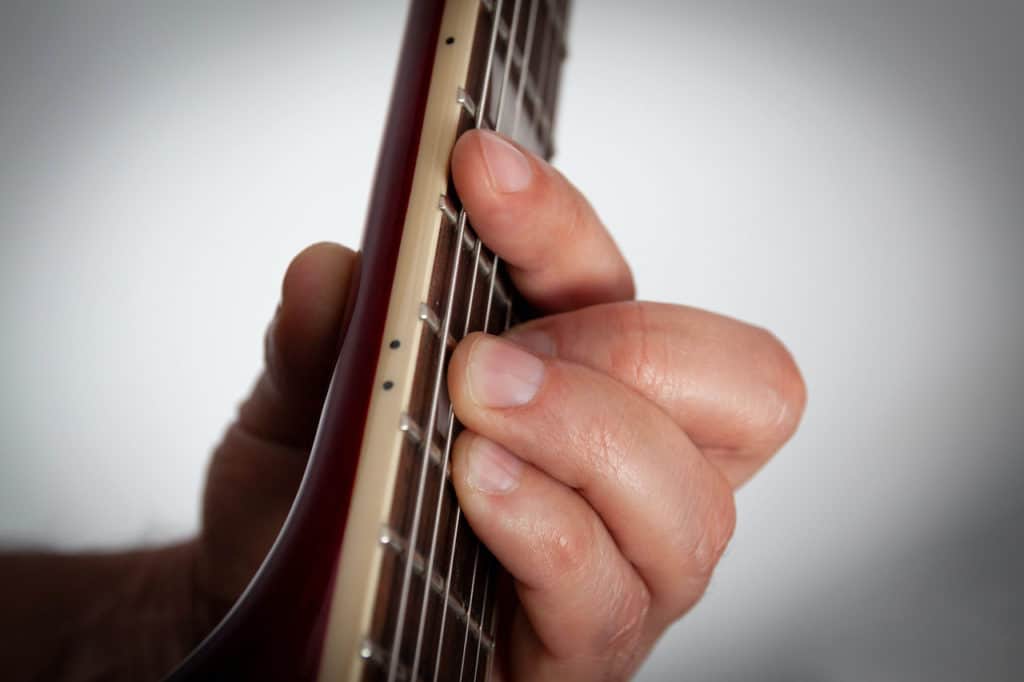
Useful exercises to master the bar chords
Once you know how to place your index finger correctly to perform a decent bar, it’s time to put it to the test. Even though our goal is learning bar chords, we will focus with these exercises on gaining strength on our index finger to hold our bars properly and effortlessly.
Basic exercise
In our first exercise, we will make a bar with our index finger, as we’ve already discussed, going from the 7th fret to the 1st. The reason for this is because as we get closer to the bridge, we need less strength to perform a bar since the tension in the strings is lower near the middle. This is why we will go from the 7th to the 1st string to build up strength gradually.
e ----7---6---5---4---3---2---1---
B ----7---6---5---4---3---2---1---
G ----7---6---5---4---3---2---1---
D ----7---6---5---4---3---2---1---
A ----7---6---5---4---3---2---1---
E ----7---6---5---4---3---2---1---
How will you know if you’re doing it right? You can either pick or let your thumb play each string slowly. The strings must have a clear tone as if you were fretting them individually. If they sound muted or warped, you need to apply more pressure. Watch out for the proper positioning of your finger.
When you finish testing a fret, release your index finger by lifting it slightly, sliding to the next fret. This will help release the tension generated by the bar and will keep you injury-free.
Advanced exercise
Our next step in the road to mastering the bar is combining the previous exercise with a simple chromatic exercise. For this one, we will play a bar as in the last exercise and play the notes right after the bar with the rest of our fingers, string by string, without letting go of the bar.
e ----7--------7--------7--------7---...
B ----7--------7--------7--------7---...
G ----7--------7--------7--------7---...
D ----7--------7--------7-8-9-10-7---...
A ----7--------7-8-9-10-7--------7---...
E ----7-8-9-10-7--------7--------7---...
Remember releasing the index finger before going to the next fret. This exercise is outstanding in developing both strength in your index finger and flexibility in your hands to be able to switch chords easily.
Why that much effort learning to play bar chords?
As we discussed in the article about the CAGED-System, we can play all the different major and minor chords up and down the fretboard, starting from open chords and either using a capo or performing a bar. So, if you know how to play both open chords and bars properly, you’re all set!
Let’s start from open E major. If we play it by performing a bar in the 1st fret, we will obtain F major.

As we move through the fretboard, we can obtain almost any chord. For example, playing E by performing a bar in the 3rd fret would give us G.

Conversely, playing A major would give us a similar outcome. If we play A performing a bar in the 2nd fret, we obtain B.

If we play the A shape with a bar in the 7th fret, we will obtain E. However, it’s much brighter than the open version of the chord.

Practice your bar chords making sure that every string is pressed down properly.
Now, to play minor chords and chords with variations, we follow the same principles discussed previously.


Remember, these chords can be turned into any chord you’re looking for by moving up or down the fretboard!
Cheat bar chords
Indeed, when we start to study bar chords, we might find them hard, tedious, and we might look for every way to avoid them. Well… you didn’t hear this here. But there might be workarounds to make bars a bit easier when beginning that even guitar professionals use!
Half-bar
Some guitar players will only put their index finger across two or three strings in the treble side and play the chord without the bass strings for an easier bar chord.
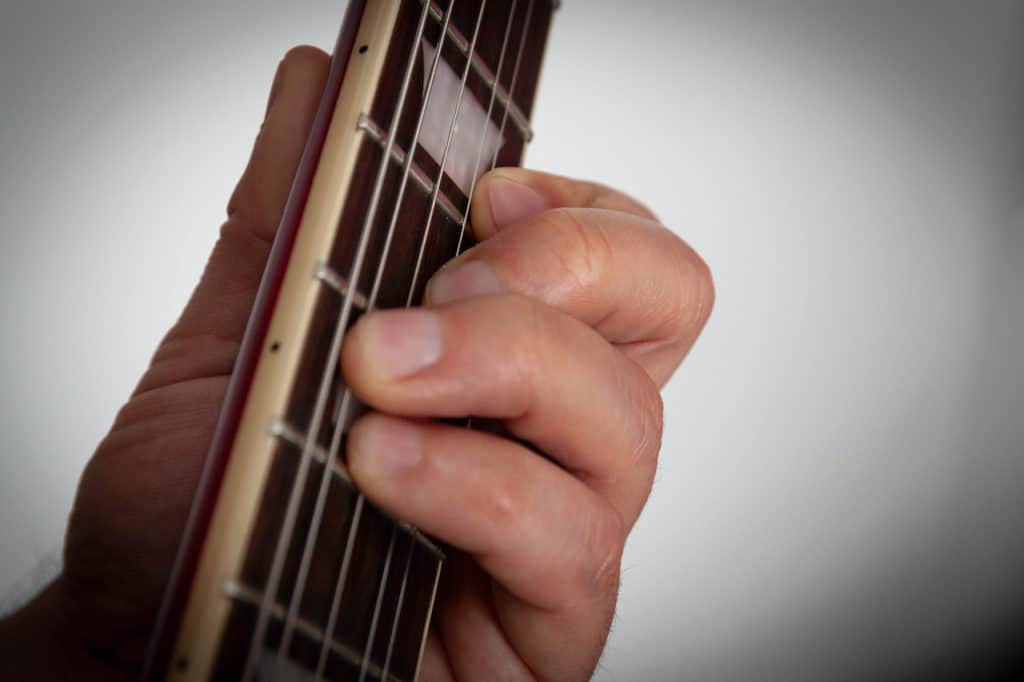
Double bar
When playing bar chords that only require two fingers beside the index finger, you might want to rest your middle finger on top of your index, so that it can also help you to stabilize the bar.
It is very satisfying to learn to bar properly and incorporate bar chords into our skills, giving us a huge mastery of the fretboard. This is an advantage when you want to play any song in any key! Remember to check your performance with someone more experienced than you, and to practice daily. Happy playing!


